
San Valentino è dietro l'angolo e questo è il terzo ed ultimo appuntamento con l'iniziativa di Silvia "San Valentino secondo noi".
Valentine's Day is almost here and this is the third and last part of the event created by Silvia "San Valentino secondo noi".

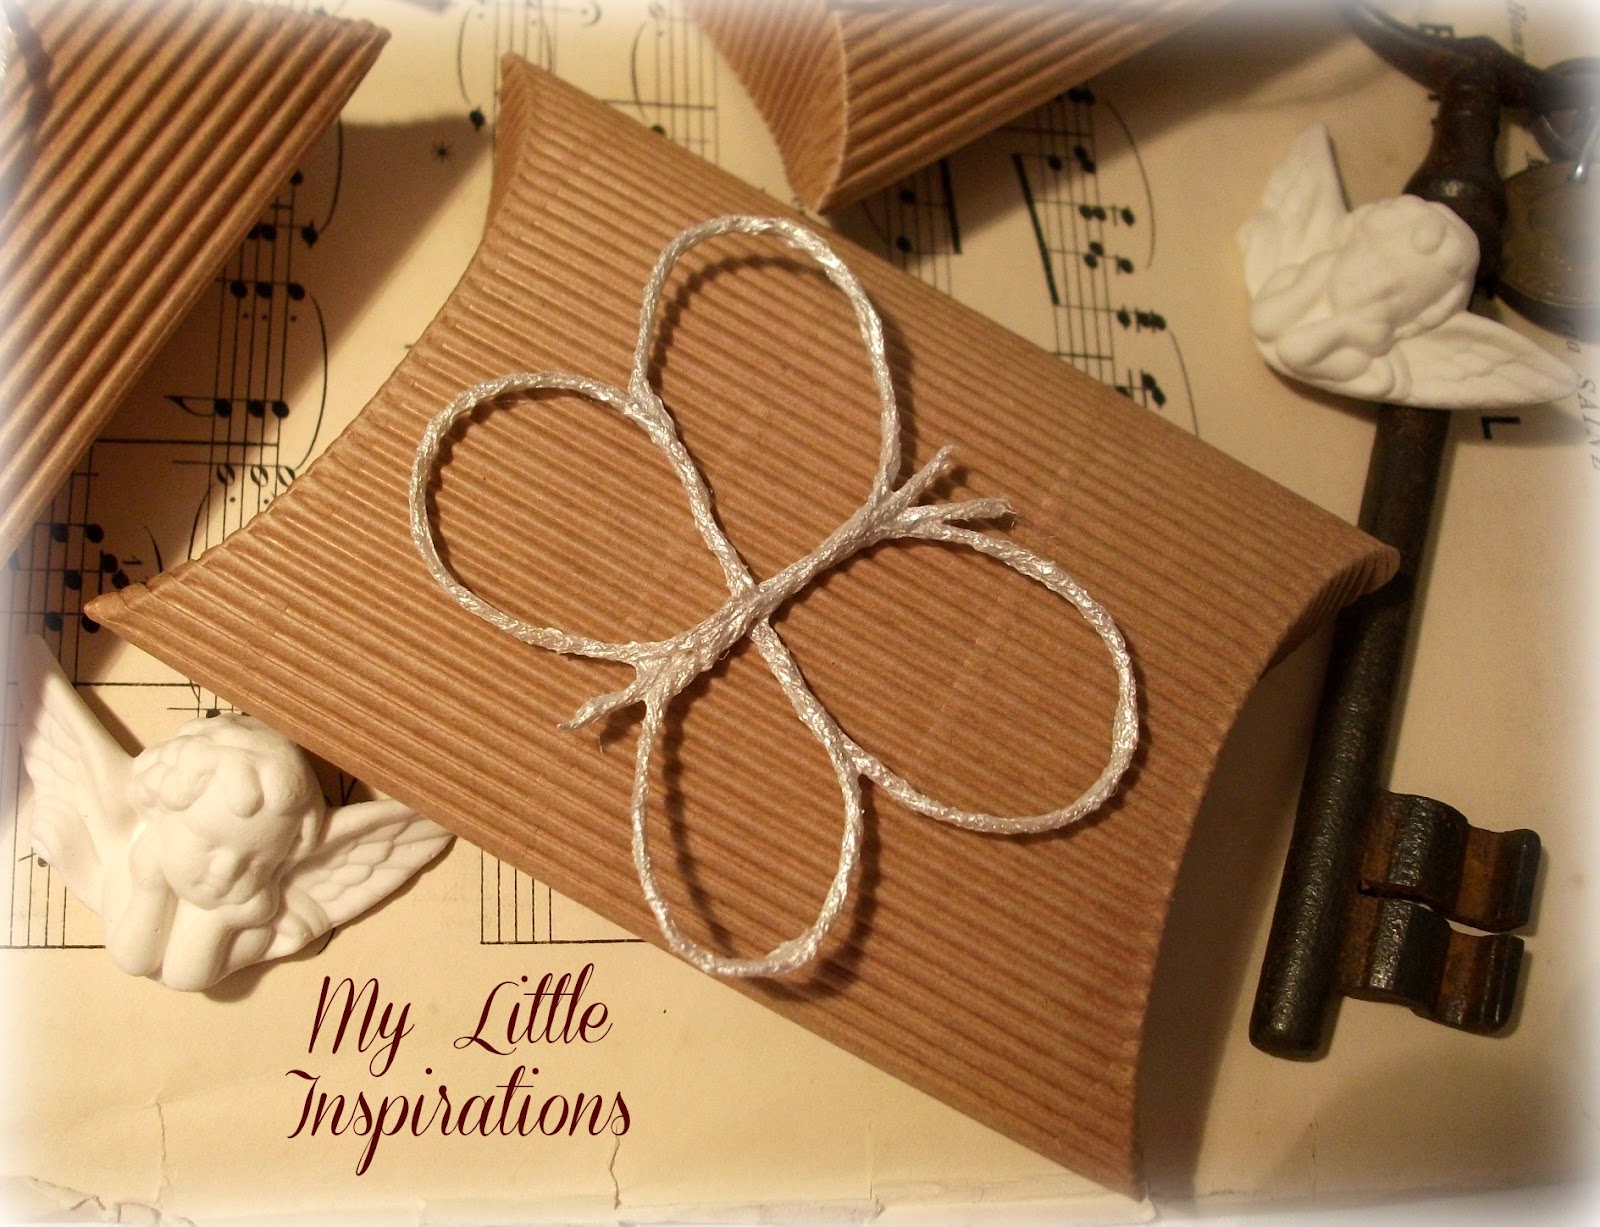
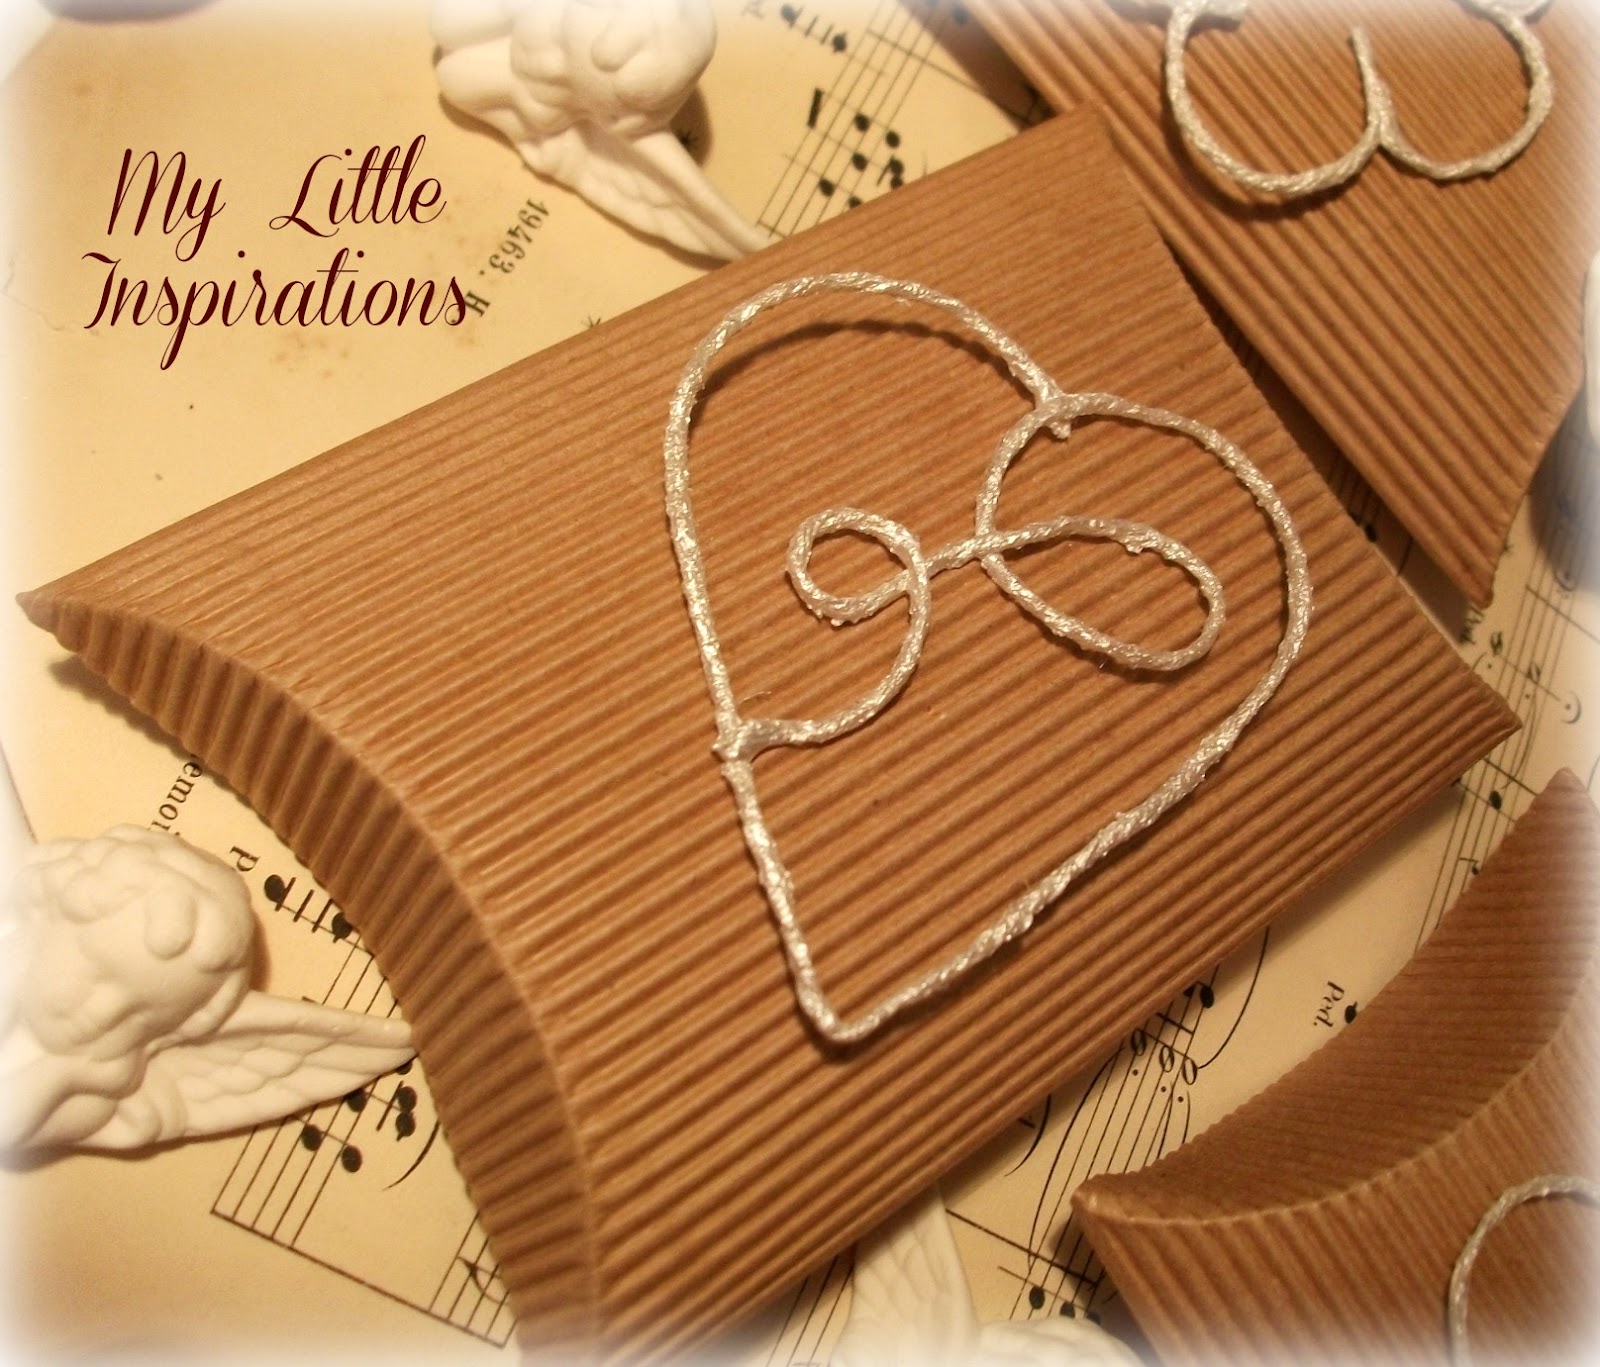
Dopo il tableau countdown ed il banner con i cuori 3D, questa settimana ho preparato dei gessetti profumati che ho confezionato in scatoline di cartoncino ondulato riciclato da confezioni di biscotti ed abbellito con decorazioni di filo di cotone. Saranno il mio presente per una cena con amici che ho in settimana (alle signore, ovviamente), ma si possono usare anche per confezionare un dono di S. Valentino.

After the Valentine countdown and the book page 3D heart banner, this week I prepared some scented plaster angels and I put them in little corrugated paper boxes I made from biscuits boxes and embellished with cotton yarn decorations. They'll be my present for a dinner party I'm having this week, but they can be used for Valentine gifts as well.

Per le decorazioni occorrono: cartaforno, carta bianca, filo di cotone o corda, scotch, matita, forbici, colla vinilica, un piattino di plastica, colore acrilico e pennellino.
For the twine decorations I used: parchment paper, a sheet of paper, cotton yarn or twine, tape, pencil, scissors, vinyl glue, a plastic dish, acrylic paint and brush.
Disegnare delle semplici forme sul foglio di carta, ritagliarle e fissarle con lo scotch al di sotto di un pezzo di cartaforno.
Versare un po' di colla nel piattino e diluirla con acqua (deve essere molto fluida).
Tagliare il filo a pezzetti ed intingerli bene nella colla. Togliere con le dita l'eccesso di colla e modellarli sul foglio di cartaforno, seguendo i contorni della sagoma di carta sottostante.
Quando cominciano ad asciugare, staccarli dalla cartaforno e finire l'asciugatura su un calorifero.
Quando saranno asciutti e rigidi, si possono colorare con colori acrilici ed un pennellino.
Draw some simple shapes on the sheet of paper, cut them, fix them with tape on the parchment paper and turn it.
Pour some glue onto the dish and add some water (it should be very fluid).
Cut little pieces of twine and soak them in the glue. Remove the excess glue with your fingers and model them on the parchment paper following the outline of the shape underneath.
When they start to dry, remove them from the parchment paper and finish drying on a radiator.
When they are completely dry they can be painted with the acrylic paint and a little brush.

Per le scatoline occorre del cartoncino ondulato, matita, forbici, colla, template.
For the boxes you'll need some corrugated paper, pencil, scissors, glue, template.

Riportare il template sul cartoncino ondulato, ritagliarne i contorni, piegare a metà lungo la linea tratteggiata, incollare la linguetta all'interno. Piegare verso l'interno le estremità corte, seguendo le linee tratteggiate.
Transfer the template onto the corrugated paper, cut the outline, fold in half following the dotted line, glue the tab on the inside. Fold the short edges inwards following the dotted lines.
Attaccare le decorazioni alle scatoline con una goccia di colla.
Glue the decorations onto the boxes.

Ora vi lascio in compagnia delle altre amiche blogger di
Now go visit the other blogger friends of

------
I'm linking this post to:
Un té da me! di Les fleurs de Micol
Linky Party "Regali fai da te" by Topogina
Idee a forma di cuore by Decoriciclo
Linky Party "Regali fai da te" by Topogina
Idee a forma di cuore by Decoriciclo


