--> Versione in Italiano
Are you already thinking at Easter and at how to decorate your home? I am because time flies and Easter Day arrives to fast!
Today I'm sharing a step by step tutorial to make a Coastal Lamp that is the right centrepiece for your Easter table, but that you can also use as central decoration of a Spring vignette, following the tips I gave in my last post.
The Coastal style is a style just right for a seaside or lake house but it fits well also a city home because the colours that characterize it, the blue, aqua green and teal shades, match well both a classic furniture and a modern one.
Supplies:
Metal or wood lamp with door
Nest
Nest
12 Empty nuts (24 halves)
3 Empty quail eggs
1 Battery tealight
White twine
Burlap ribbon
White, blue and light blue raffia
Concrete bird
Light blue, azure and blue acrylic paint
Brush
Scissors
Hot glue and vinyl glue
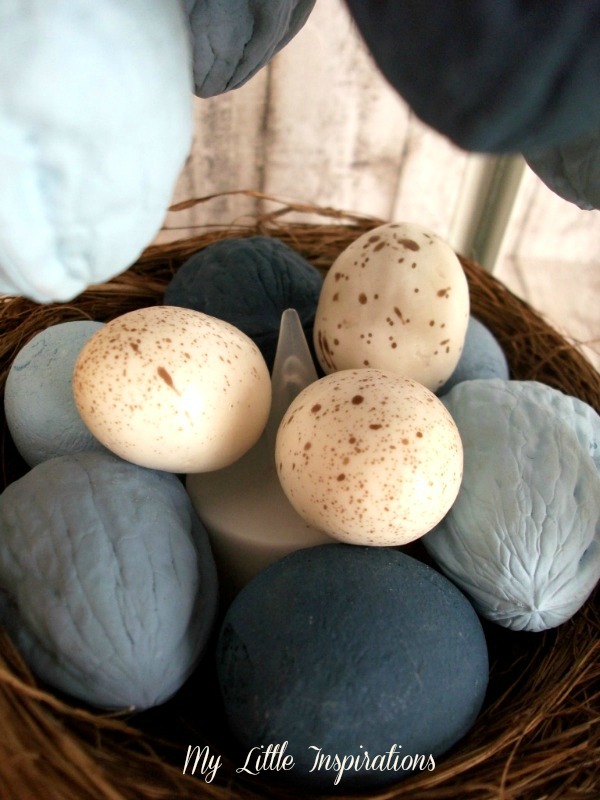
First glue together the two halves of 6 nuts. Then cut 6 pieces of twine, make a knot at one end and insert it into 6 of the remaining nut halves. Close the nuts with their halves and the vinyl glue thus fixing the twine to the nuts.
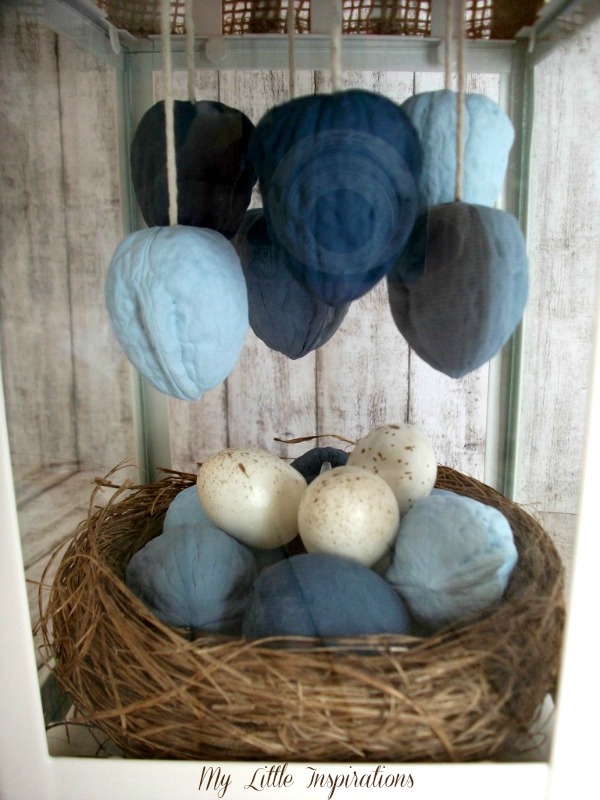
Paint the nuts with the acrylic paints, 2 nuts with twine and 2 without, for each colour and let them dry completely. According to the shape of your lamp, find a way to fix the 6 nuts with the twine to the inner upper part of the lamp and let them hang at different heights.
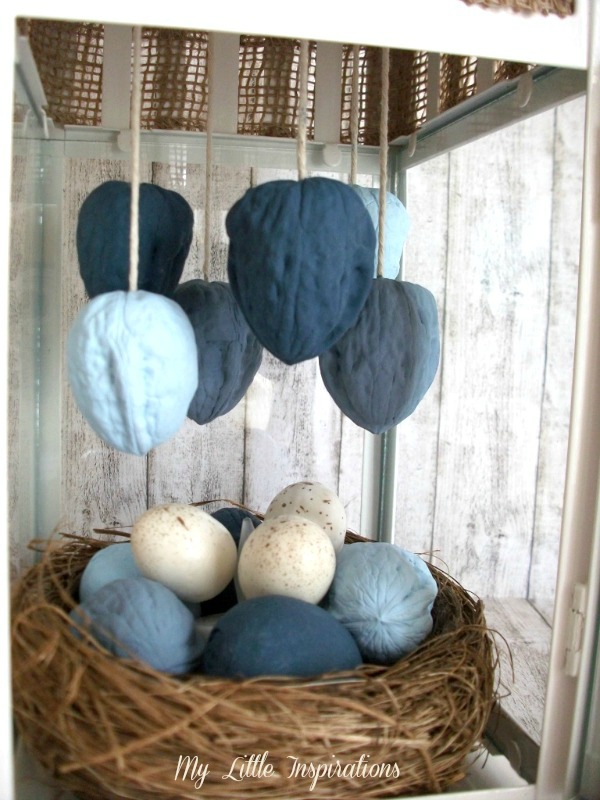
Put the nest on the base of the lamp, add the battery tealight and cover it with the 6 coloured nuts and the 3 quail eggs so that you can see only its flame.
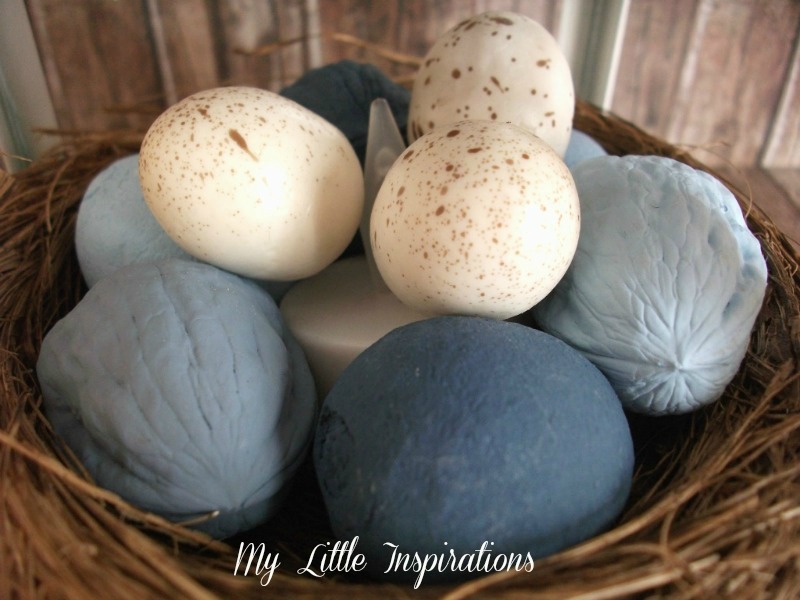
Now decorate the outer part. Cover the upper part of the lamp with the burlap ribbon and glue it with the hot glue gun. Add a bow made with some pieces of the coloured raffia and glue it over the burlap ribbon.
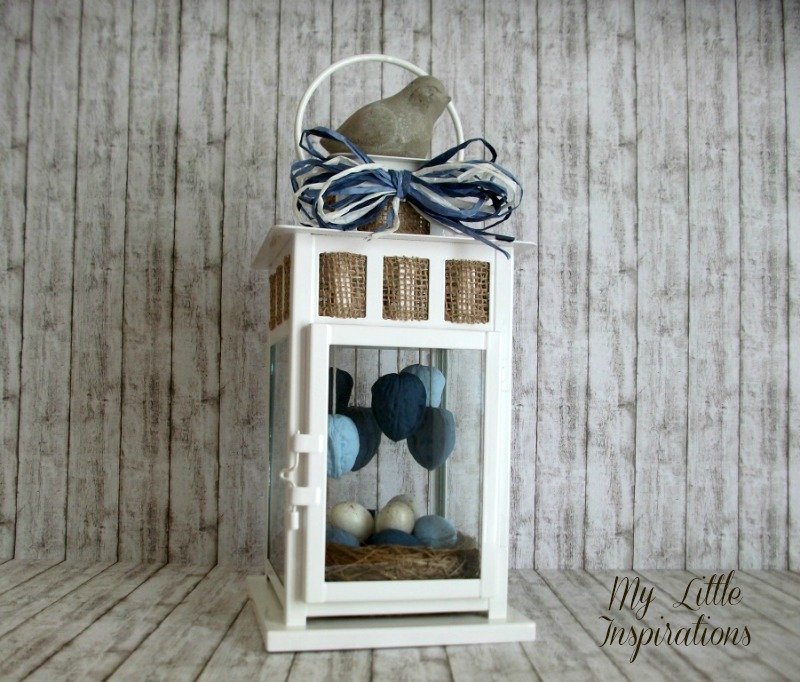
Now add the bird and glue it with the hot glue gun.
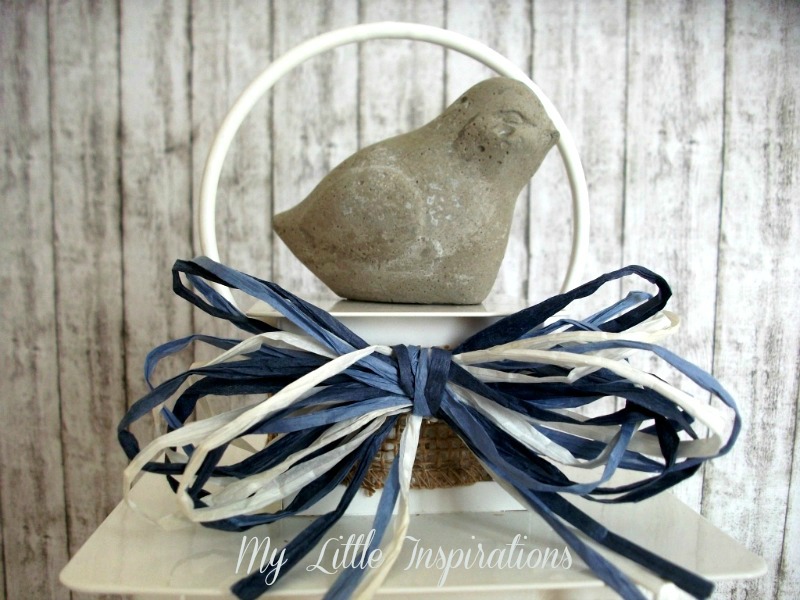
Your Coastal style lamp is now ready to be used as centrepiece for your Easter table or as a Spring decoration, as I suggested before.
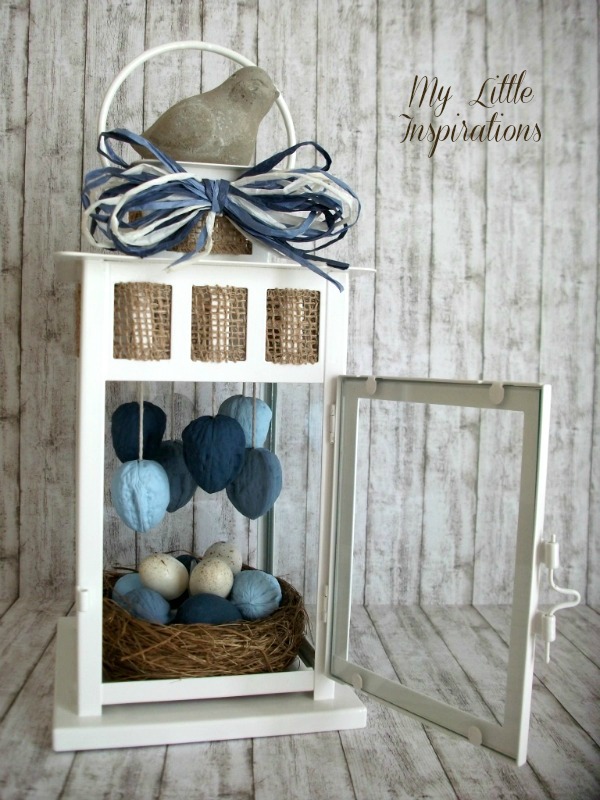
This project takes part in the new event by The Creative Factory team
Now go and see what the other participants made!


I love everything about this, especially the colors! Very creative.
RispondiEliminaThank you very much Gloria!!!
EliminaBellissima idea!!! Ottima inspirazione !!!!
RispondiEliminaTi ringrazio!!!
Elimina